Table of Contents
So you decided you’re ready to take your prepping to the next level and build yourself a cheap DIY underground bunker, well we got you covered!
Building one doesn’t have to cost you an arm and leg. While it is still a sizeable investment, it won’t be as expensive as you might think.
We won’t make ridiculous claims like some other fluff article sites you will find out there promising long term stable bunkers for under $1000 because we all know that’s a bunch of BS.
We’ll walk you through the process and show you exactly what to do while not breaking the bank.
Why you should build a Cheap DIY Underground Bunker
Protection from Natural Disasters
Mother Nature can be both beautiful and ruthless. Whether it’s hurricanes, tornadoes, earthquakes or floods, natural disasters can wreak havoc on our lives. By constructing a cheap DIY underground bunker, you gain a safe haven that shields you from the destructive forces of nature.
Civil Unrest, Civil War and Foreign Occupation
In today’s world these have become legitimate concerns more than ever before. You need a place that you and your family can ride out these SHTF situations.
Extra Storage Space
One of the often overlooked benefits of having a cheap DIY underground bunker is the additional storage space it offers. You can store essential supplies, emergency food, water, guns and ammunition without sacrificing space in your home. Keeping these in a covert underground bunker can also reduce the risk of looters and theft.
Serves as a Panic Room
Imagine a scenario where you feel threatened or outnumbered within your own home. A bunker can serve as a panic room, providing you with a fortified retreat to protect yourself and your family from intruders or dangerous situations.
Protection from a Nuclear Attack and Radiation
In the face of a nuclear threat, a cheap DIY underground bunker becomes an invaluable asset. Built with sturdy construction and located in a strategic location, it can shield you from the devastating effects of a nuclear explosion, including the fallout of radiation and nuclear winter that may follow afterwards.
If built properly and the structure is sound, you can even ride out the storm for years, provided you have enough food and water stockpiled.
Food and Water Shortages
When SHTF, easy access to food and water will be a thing of the past. Having a bunker allows you to stockpile provisions, ensuring you and your family have access to vital resources during times of scarcity.
Types of Cheap DIY Underground Bunkers

Ever notice how when you’re searching for ways to build a bunker, you always get plastered with guides on how to build super expensive 50K+ luxury bunker or shelter?
That’s not what you’ll find here, we’re giving you only the simple yet effective budget friendly options because for most of us, it’s not realistic to drop that much money on a bunker.
Concrete Underground Bunker
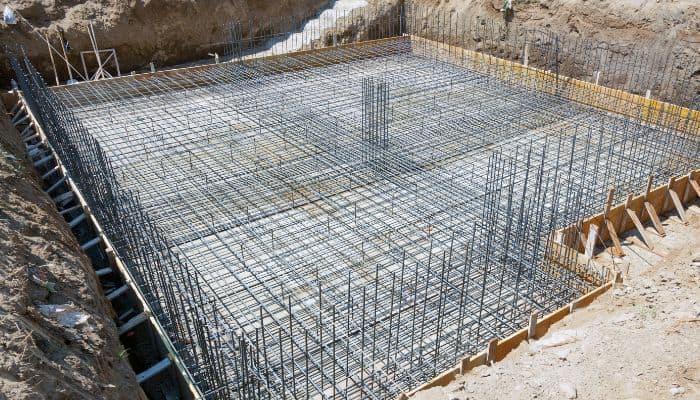
This is our recommended bunker setup as it offers the most protection from all threats when constructed correctly. Concrete bunkers have exceptional durability and longevity as well. We’ll dig deep into the step-by-step process for building one of these below, highlighting the materials needed and the construction involved.

House Basement Bunker
If you already have a basement, converting it into a bunker can be a cost-effective option.
Building into the Side of a Hill
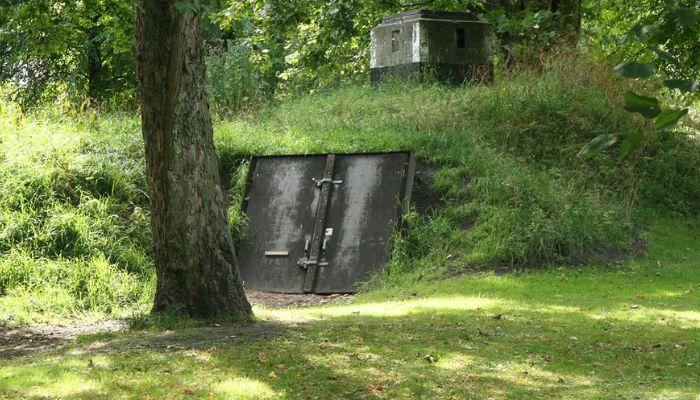
Utilizing the natural topography by building into the side of a hill provides excellent camouflage and insulation.
Root Cellar
A root cellar can serve as a multi-purpose bunker for both storage and shelter.
Underground Shipping Containers
Repurposing shipping containers as underground bunkers offers affordability and convenience.

Pre-fabricated Bunkers
For those seeking a quicker and easier solution, pre-fabricated (AKA pre-fab) bunkers are worth considering, but keep in mind, most of these are not built natively to last for long periods of time and some of them are very costly. Most of them are designed as simple storm shelters and not meant to stand the test of time.

Renovating an Existing Fallout Shelter
If you’re fortunate enough to have access to an existing cold-war era fallout shelter in your basement or on your property, you can always renovate it and save yourself a lot of time and money.
How to build your Bunker
Permits
Before you start digging your cheap DIY underground bunker or working on the construction in any way, it’s important to understand and comply with local regulations or you’ll face potential fines and the possibility of having to remove your bunker and restore the area as it was before.
Don’t forgot to register for these permits if necessary:
- Building Permit: This is necessary to prove that your bunker complies with safety regulations on the federal, state and local government levels.
- Grading Permit: Excavating for your bunker will require a grading permit if it alters the natural topography. Someone will come and assess the area to confirm eligibility and ensure that no harm will come to protected land. Have them come before digging.
- Plumbing Permit: Required for plumbing in your bunker. Ensures compliance with codes and regulations.
- Electrical Permit: If you’re going to wire your bunker to a power source, such as generators or solar panels, then it may be required.
- Discretionary Permit: This one is not always needed, you’ll need to check your local and state level requirements regarding this. It’s purpose is just to make sure you are considering and mitigating negative impacts of your construction project on the surrounding area.
When considering OPSEC and building your bunker privately without the local, state or federal authorities knowing about it, you need to be careful what reasoning you give. You can’t flat out lie and say you’re building something that you’re not or you can face legal consequences if they find out.
So instead we recommend using vague terms that could be used for many purposes, such as a cellar for a potential guest house you want to build down the line.
Saying it’s for a bunker outright could come with negative reactions or being put on a watch-list, as silly as that sounds.
Regardless of which permits you need, it’s important to contact your local utility companies to make sure you don’t accidentally dig and destroy a utility line. You can always Call 811 and speak with a local representative to find someone in your area who can advise you on where it is and isn’t safe to dig.
Design the Blueprint
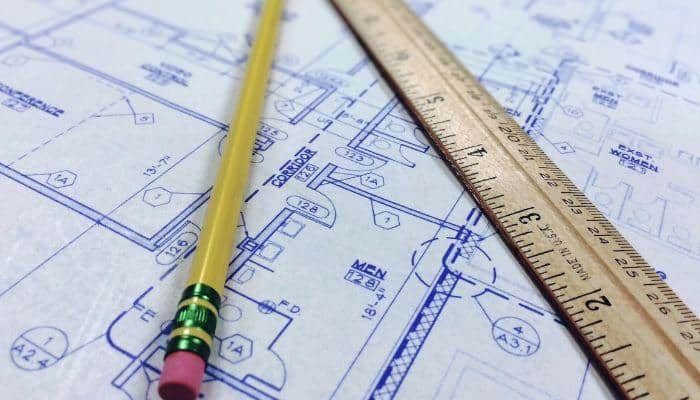
With permits in hand, it’s time to finalize your bunkers design, floor plan, and overall construction strategy.
Make sure factoring these in when designing the blueprint:
- 10 Feet Underground: This is a minimum requirement to make sure your cheap diy underground bunker can withstand the effects of a nuclear blast and radiation. Don’t make it much further than 10 feet deep if the construction is not sturdy or you will risk cave-ins. If going with a bunker built into a hillside, than 10 feet horizontally deep into the hill.
- NBC: (Nuclear, Biological and Chemical) rated ventilation and waste disposal system. These are a must if you want to make your bunker livable for any SHTF situation.
- Thick Steel Blast-Proof Hatch: Ideally you’ll want at least a 3/4 inch steel exterior plate with internal hinges and a 6-10 inch steel door plate that is lined with 3-5 inch steel tubing for extra reinforcement. Your entry hatch should also obviously be airtight and NBC rated.
- Vertical Entry Tube: This should be a concrete, lead lined cylindrical tube with a heavy duty metal ladder extending almost to the top of the hatch. If building into a hill or a basement this is not necessary.
- Living Areas: These include sleeping, eating and activities areas.
- Storage Areas: These include areas for food and water, supplies, fuel and appliances.
- Utility Lining: If going with an electrical setup, map out where the internal and external wiring points are and do the same with the plumbing pipelines. Integrate them through the walls strategically.
- Decontamination Zone: Only necessary if including the threat of a nuclear attack in your prep and you plan to step outside to assess livability in the future. At the base of the ladder, design a small hall with ideally a thick airtight steel door and door frame at the end, which lead into the main bunker area.
This area should have high pressure vents sucking out any loose particles attached to you and your clothing and if your budget permits, a decontamination shower too.
Materials for the Structure
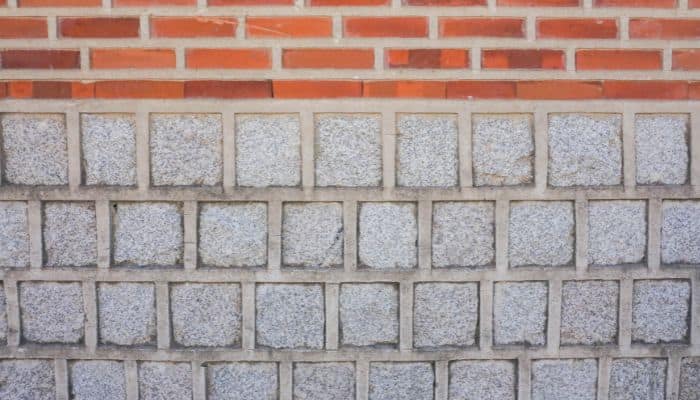
When building a cheap DIY underground bunker choosing the best materials for the surrounding structure is vital to its long-term durability.
There are two main options when building on a budget.
- Concrete: This is our number one recommended material as it’s cheap and incredibly cost effective. Concrete is some of the strongest and most sturdy material you can use when building a cheap DIY underground bunker and it’s versatility allow you to construct lead panel sheets in-between layers of it for maximum radiation resistance.
- Brick: Bricks are durable building materials that are cost-effective, weather-resistant, and excellent insulators. Depending on the type of brick, they can also be cheap.
Excavation and Digging
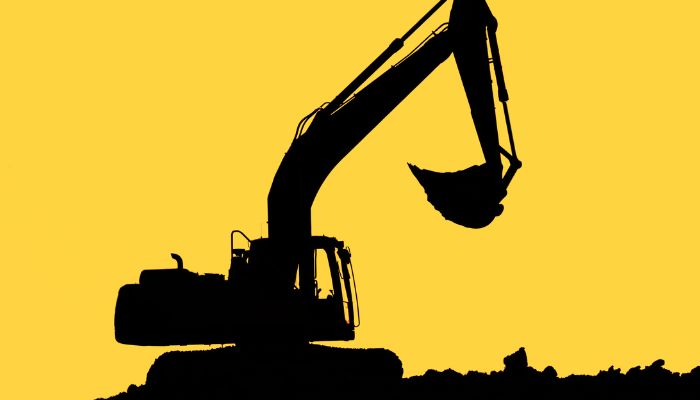
The excavation process is the most physically demanding phase.
Sure you could dig it yourself or with the help of some buddies and knock it out over a summer or two, but that’s a hell of a lot of work and there are other cost-effective options available.
You can rent an excavator or a trencher to massively speed up the process. If you’re interested you can check local availability, rental options and prices here.
Ventilation
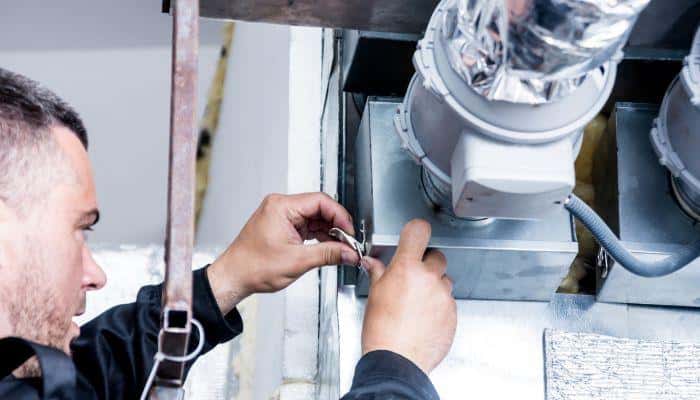
Having a proper ventilation system is essential for maintaining a healthy living environment and keeping the air filtered inside your cheap DIY underground bunker.
As mentioned earlier, the only safe option is to go with an NBC (Nuclear, Biological and Chemical) system. The NBC air filtration system is designed to filter and expel outside air into an enclosed space. It creates pressure to ensure the air is well-circulated. American Safe Room makes some excellent NBC’s and provides some cheaper options as well.
Having a proper ventilation system also helps with temperature and humidity control which are essential if you don’t want your supplies to get damaged by mold.
Waterproofing, Water Filtration and Waste Disposal
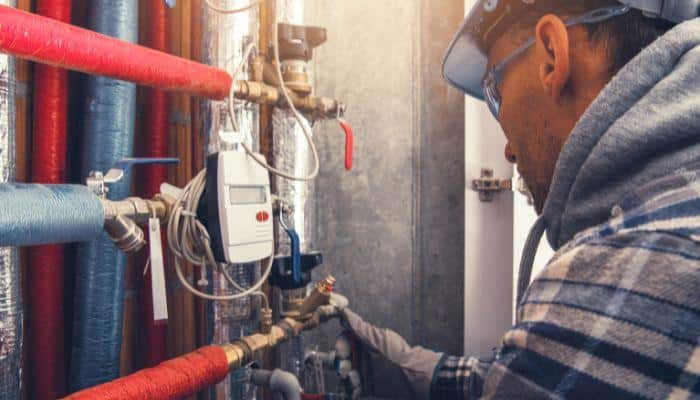
Water is essential to life but a lack of a proper filtration system or waterproofing counter-measures can have devastating effects on long-term survivability in your bunker.
It’s important to make sure you waterproof your bunker before finishing construction because concrete will crack and water will find it’s way in eventually. Without a proper drainage system in place, you’re risking the walls buckling and collapsing from hydrostatic pressure buildup and eventually a flooded bunker.
Storing massive amounts of water that can be re-purified, when the expiration date is up after 6 months, is a valid solution if the budget for your cheap DIY underground bunker allows for an additional water tank storage area.
If not then you may want to look to other methods such as water-recycling or building a well into your shelter (this involves doing a bit of leg-work to make sure fresh water is readily available in the specific area you build).
Having a method to purify the water is also crucial as without one you risk getting sick. We recommend having water purification tablets in bulk as well as more traditional filtration methods like carbon filters and purification systems.
If you’re purifying water using one of those methods, we recommend having a UV light lamp as an additional layer of protection and purification.
The plumbing needs to be done right and early on in the initial construction of your walls. Pipes need to be installed in a way which they do not break or erode easily and waste can be filtered or recycled and then transferred outside.
Storage Area
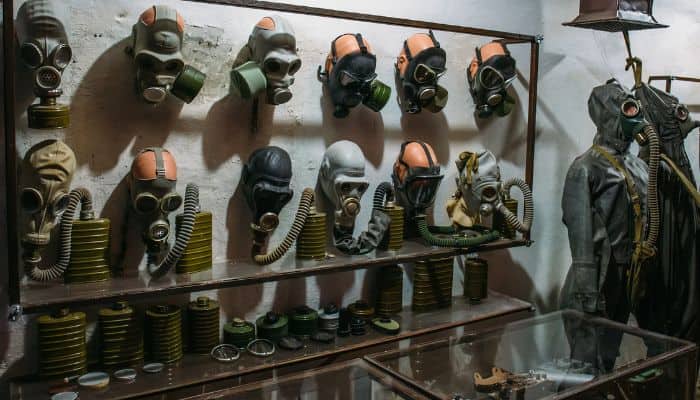
Apart from medical items, food and water, your bunker should also accommodate other essential supplies from everyday items like clothing and hygiene products to generators and other appliances.
Make sure you design your rooms to be large enough for their intended purposes.
Power and Wiring
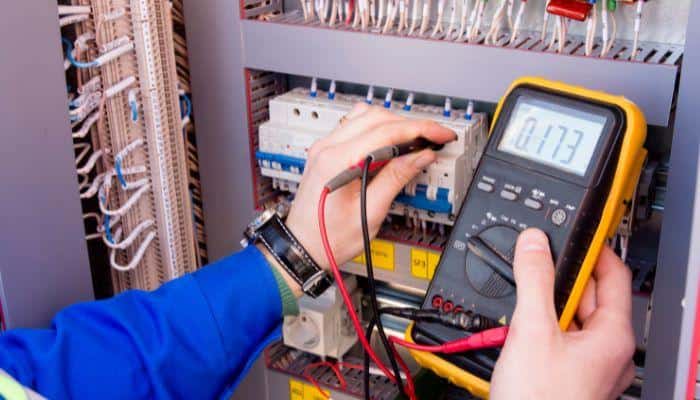
Having a reliable power source when SHTF is vital especially for extended long-term stays in your bunker. You’ve got some different options in this department including solar and wind energy or hand-cranked and fuel-based generators.
Generally speaking, we advise having a few of them on standby because you never know what situation is going to warrant you needing to bug out and get in your shelter.
For example, solar panels are fantastic if you live in a geographic region where you naturally get a lot of sunlight. They could however, end up being useless in the event of a nuclear winter when natural sunlight can’t even make it all the way through the thick atmosphere.
The wiring needs to be done right no matter what your energy source is, we highly recommend hiring a trained electrician to wire your cheap DIY underground bunker for you and have it done during the early stages of construction.
Risks and Maintenance
Risks of doing it wrong
We know the goal here is to build the best cheap DIY underground bunker that you can, but skimping out on vital components or ignoring other safety related issues and concerns can lead to some dark times for you and whoever is in that bunker with you.
Here are some risks you need consider:
- Dying of Thirst
- Starvation
- Carbon Monoxide Poisoning
- Radiation Leaks
- Suffocation
- Electrical Fires
- Pipe Congestion
- Ventilation System Failure
Making sure you account for all of these threats is going to determine whether you can ride out whatever SHTF situation you’re in or whether you die inside the very thing you spent all this time making to prevent that.
Maintenance and regular safety checks can help prevent these issues from arising in the first place.
You should check these things at least once a month before and after SHTF:
- Structural Integrity: Regular maintenance is necessary to ensure the structural integrity of your bunker. Check for cracks in the concrete, leakage of water or other liquids and conduct stress tests to see how well everything is holding up.
- Ventilation: Maintaining clean and fresh air within your bunker is vital, make sure your filters are clean and do not need to be replaced (have backup filters in the storage area for when they do), run tests regularly on the ventilation system and take air quality samples to make sure everything is where it needs to be.
- Check Wiring: Even when not actively using your new cheap DIY underground bunker, regularly test appliances and make sure they’re working correctly. Pick up a cheap multimeter and assess voltage.
- Plumbing: Periodically test your waste disposal and water filtration system’s to ensure nothing is broken and no stoppages are occurring anywhere in the pipeline.
- Replace Food and Water Storage: Make sure your reserves are not expired and use your inventory management sheets to rotate out the oldest supplies first before replenishing your stock.
Concealment and Security
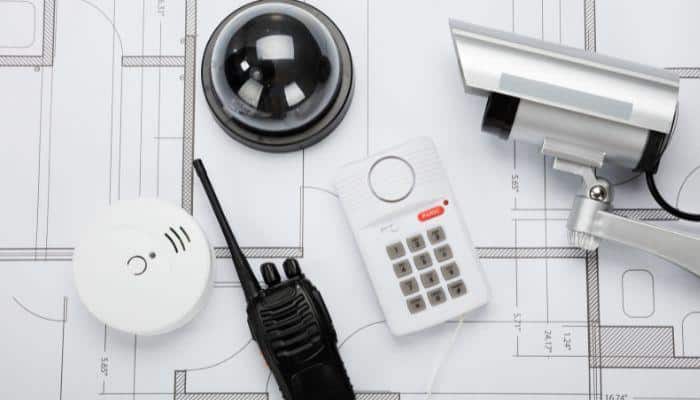
When it comes to building your cheap DIY underground bunker, maintaining a low profile and protecting your investment is critical.
Strategic Location
Choosing the right location for your bunker is the first step toward effective concealment. Look for areas on your property that offer natural cover like dense foliage or existing structures. Placing your bunker away from main roads or highly visible areas will reduce the chances of it being discovered accidentally.
Camouflage and Landscaping
Blending your bunker in with the surrounding environment is key. Use camouflage techniques to make it visually inconspicuous. Paint the exterior in earth tones or natural shades that mimic the surroundings. Get to landscaping and plant shrubs, bushes and trees to obscure the entrance so it blends seamlessly into the landscape.
Security
Install CCTV cameras, motion sensor and trip-wire alarms around the perimeter. Install an internal alarm system and hook them into your main electrical line.
Strategic Diversions
Employing diversionary tactics can be an effective way to redirect attention away from your bunker. Build other structures on your property that draw attention, such as a shed, gazebo or garden area. This can help divert someones attention and maintain the secrecy.
Operational Security
Maintaining operational security (OPSEC) is imperative when creating and concealing your bunker. Avoid discussing your plans openly, especially with strangers or neighbors. Keep your project confidential and limit the number of people involved in its construction and maintenance, loose lips sink ships.
As you can see, building your own cheap DIY underground bunker is a tall order and depending on how fast you work and how much free time you have, can take several years to finish.
But we promise, the final result is absolutely worth it and you’ll feel much safer for the unknown SHTF situations yet to happen.
If you followed this guide and carefully chose your materials and components, you should be able to build this for around $10,000 to $15,000.
If you’re struggling to make it work with what you have, take some time to save for it. No matter what your budget is, if you’re patient and wait for deals to pop up, you can definitely make it work. Remember, Rome wasn’t built in a day!
You might also like:
How to Survive a Nuclear Attack: 10 Important Things to Consider


